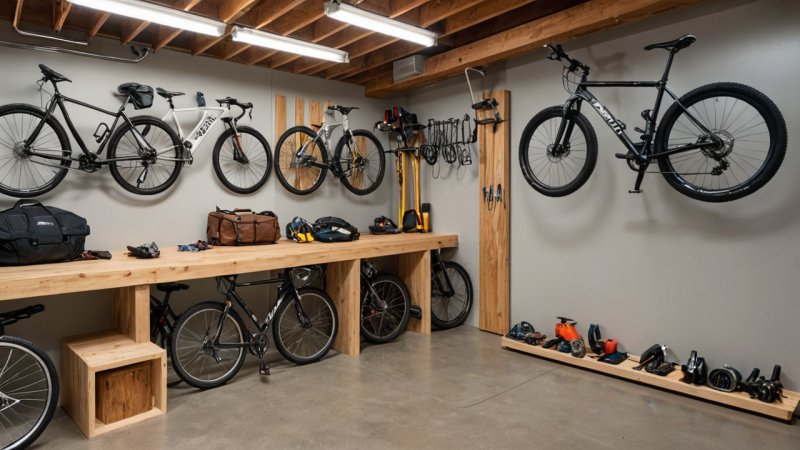
If you’re an avid cyclist, you know the importance of keeping your bikes organized and secure. A custom bike rack not only helps you save space in your garage but also protects your bikes from damage. Building your own bike rack allows for tailored designs that fit your specific needs and style. Here are five essential steps to guide you through the process of creating a custom bike rack that will keep your bikes safe and your garage clutter-free.
1. Assess Your Space
Before you dive into building your bike rack, take a close look at your garage space. Consider the following:
- Available Space: Measure the area where you plan to install the bike rack. Make sure to account for the height, width, and depth to ensure your design will fit.
- Bike Count: Determine how many bikes you need to store. This will influence the size and design of your rack.
- Access: Think about how often you use your bikes. If you ride frequently, choose a location that is easily accessible.
2. Choose Your Design
Once you’ve assessed your space, it’s time to choose a design that meets your needs. Here are some popular bike rack styles:
- Wall-Mounted Racks: Ideal for tight spaces, these racks keep bikes off the floor and can be customized to hold multiple bikes vertically.
- Freestanding Racks: Perfect for larger garages, these can hold several bikes and are easy to move if needed.
- Vertical Racks: If you’re short on horizontal space, vertical designs maximize storage by allowing bikes to be stacked.
3. Gather Your Materials
Now that you have a design in mind, it’s time to gather your materials. Depending on your chosen design, you might need:
- Wood or Metal: Choose durable materials that can withstand the weight of your bikes. Plywood or steel are great options.
- Fasteners: Screws, brackets, and anchors will ensure your rack is sturdy and safe.
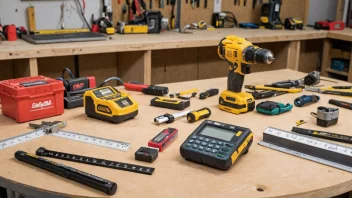
- Tools: Common tools you may require include a saw, drill, measuring tape, and level.
4. Constructing Your Rack
With your materials in hand, it’s time to start building your bike rack. Follow these steps:
- Measure and Cut: Use your measurements to cut your wood or metal pieces accurately.
- Assemble the Base: Start with the base of the rack, ensuring it’s level and secure.
- Add Supports: Install vertical supports or brackets based on your design to hold the bikes securely.
- Finish the Rack: Smooth any rough edges and apply paint or wood sealant to protect your rack from the elements.
5. Install and Organize
Once your bike rack is constructed, it’s time to install it in your garage. Follow these final steps:
- Secure the Rack: Use anchors or screws to attach the rack to the wall or floor, depending on your design.
- Organize Your Bikes: Hang your bikes on the rack, ensuring they’re evenly spaced to prevent damage.
- Regular Maintenance: Periodically check the stability of your rack and the condition of your bikes to ensure they remain in top shape.
Building a custom bike rack for your garage is a rewarding project that enhances both functionality and aesthetics. By assessing your space, choosing a suitable design, gathering the right materials, constructing the rack properly, and installing it securely, you will create a personalized solution that keeps your bikes organized and protected. With a little effort, your garage can become a cycling haven!


