Introduction
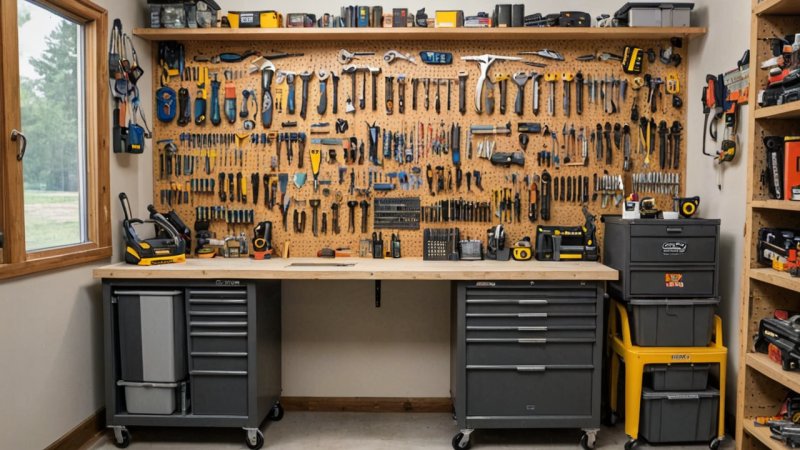
Are you tired of rummaging through piles of tools in your workshop? A well-organized workspace can enhance your productivity and make your DIY projects more enjoyable. In this article, you will learn how to build a simple yet effective tool organizer that will keep your tools easily accessible and neatly arranged. Follow these straightforward steps to create your own tool organizer.
Step 1: Gather Your Materials
Before you start building, gather all the materials you will need. Here’s a list to help you:
- Wood Boards: Choose a sturdy wood like plywood or MDF.
- Wood Screws: 1.25 to 1.5 inches long should work well.
- Wood Glue: For added stability.
- Sandpaper: 120 and 220 grit for smoothing edges.
- Paint or Stain: Optional, for finishing touches.
- Measuring Tape: For accurate measurements.
- Drill: For making holes and driving screws.
- Saw: A circular saw or hand saw for cutting wood.
Step 2: Plan Your Design
Before cutting any wood, sketch out a design for your tool organizer. Consider the types of tools you have and how you want to store them. Here are a few design ideas:
- Wall-Mounted Organizer: Use vertical space by mounting shelves and hooks on the wall.
- Rolling Cart: Create a mobile organizer for easy access to tools while working.
- Bench Top Organizer: A compact organizer that sits on your workbench.
Choose a design that fits your space and tool collection.
Step 3: Measure and Cut the Wood
Using your measuring tape, measure the dimensions of your design. Mark the wood with a pencil for cutting. Make sure to:
- Cut the base to the desired size.
- Cut vertical pieces for shelves or dividers.
- Ensure all pieces are uniform for a professional look.
After cutting, use sandpaper to smooth any rough edges to prevent splinters.
Step 4: Assemble the Organizer
Start assembling your tool organizer by following these steps:
- Attach the Base: Secure the base to the wall or the bottom of the cart using wood screws and glue.
- Add Vertical Pieces: Attach vertical pieces for shelves or compartments, ensuring they are evenly spaced.
- Install Additional Features: If your design includes hooks or holders, add them now.
Make sure everything is aligned and secure before moving on to the next step.
Step 5: Finish Your Organizer
Now that your organizer is assembled, it’s time for the finishing touches:
- Sand Again: Give your organizer a final sand using finer grit sandpaper.
- Stain or Paint: If you choose to paint or stain, apply your desired finish for a polished look.
- Let It Dry: Allow the finish to dry completely before moving on.
Step 6: Organize Your Tools
Once your tool organizer is complete and dry, it’s time to fill it with your tools. Here are some tips for organizing:
- Categorize: Group tools by type (e.g., hand tools, power tools, gardening tools).
- Label: Use labels for easy identification.
- Prioritize Accessibility: Place frequently used tools at the front for easy access.
Conclusion
Building a tool organizer is a rewarding DIY project that can greatly improve your workshop's functionality. By following these steps, you can create a custom organizer that suits your needs and keeps your tools in order. Remember to regularly reassess your organization system as your tool collection grows or changes. Happy organizing!


