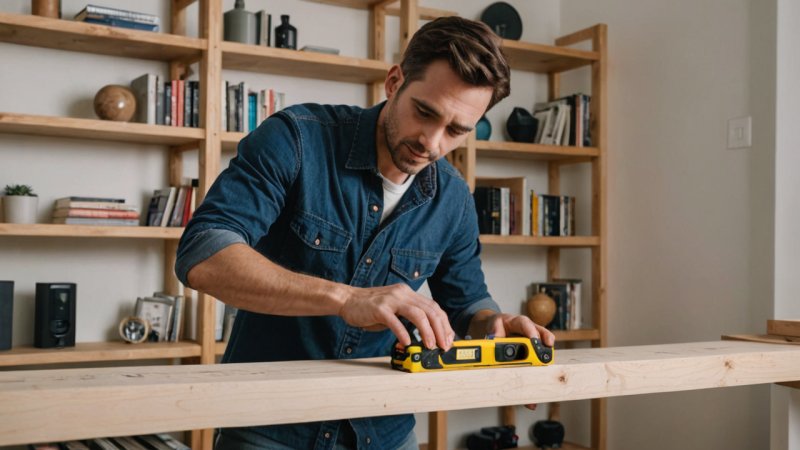
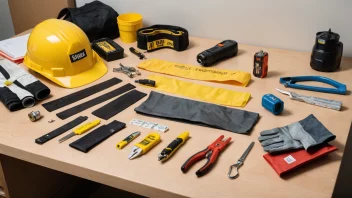
Laser levels have transformed the way we approach precision in our DIY projects. Whether you're hanging shelves, installing cabinets, or aligning tiles, a laser level ensures accuracy and efficiency. In this article, we will explore the top five ways to effectively use a laser level to enhance your home improvement skills.
1. Hanging Pictures with Precision
Using a laser level makes hanging pictures a breeze, eliminating the hassle of uneven frames.
- Step 1: Choose the location for your picture and mark the desired height.
- Step 2: Set the laser level to project a straight line across your marks.
- Step 3: Use the line to align your hooks or nails, ensuring your pictures hang perfectly level.
2. Installing Shelves
Installing shelves requires precision to ensure they are level and secure. A laser level can help you avoid costly mistakes.
- Step 1: Determine the height of the shelves and mark your wall.
- Step 2: Use the laser level to project a line along the wall where the shelves will be placed.
- Step 3: Align your brackets along the laser line, ensuring they are straight.
3. Tiling Floors and Walls
A laser level is invaluable when tiling, ensuring that your tiles are aligned and evenly spaced.
- Step 1: Mark the center point of the room or wall to start tiling.
- Step 2: Project a laser line from the center point to guide your first row of tiles.
- Step 3: Use spacers and continue tiling, checking with the laser level regularly to maintain alignment.
4. Framing Walls
When framing a wall, precision is key to creating a sturdy structure. A laser level can simplify the process.
- Step 1: Determine the layout of the wall and mark the top and bottom plates on the floor.
- Step 2: Use the laser level to mark the vertical lines for the studs.
- Step 3: Install the studs along the laser line, ensuring they are straight and evenly spaced.
5. Aligning Cabinets
Installing cabinets can be challenging, but a laser level ensures they are perfectly aligned.
- Step 1: Mark the desired height for the cabinets on the wall.
- Step 2: Use the laser level to project a line across the wall at the marked height.
- Step 3: Align the cabinets with the laser line, ensuring they are level before securing them.
In conclusion, a laser level is an essential tool for any DIY enthusiast. Whether you're hanging pictures, installing shelves, tiling, framing, or aligning cabinets, using a laser level can significantly improve the precision and quality of your work. With these practical applications, you'll be able to tackle your next project with confidence!
