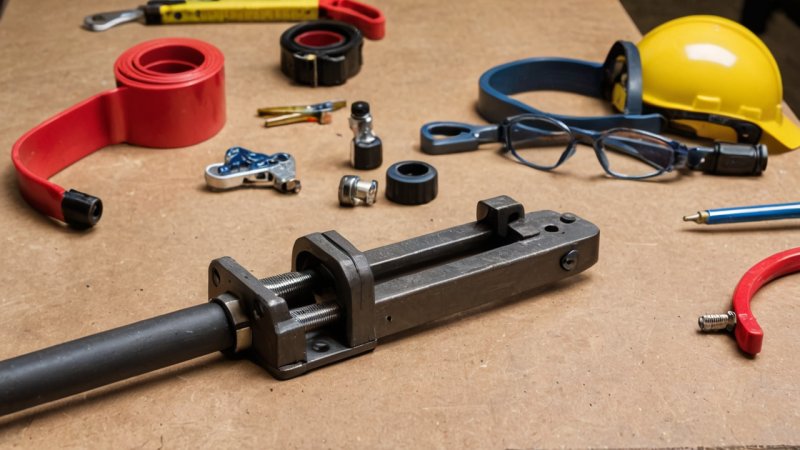
When tackling plumbing projects, efficiency and precision are key. One essential tool that can help you achieve both is the pipe cutter. This handy device is designed to make clean, straight cuts on various types of piping, ensuring that your plumbing work is both professional and leak-free. In this article, we'll explore how to effectively use a pipe cutter, discuss its benefits, and offer practical tips to enhance your plumbing skills.
Understanding the Pipe Cutter
Before diving into the usage of a pipe cutter, it's important to know what it is and how it operates. A pipe cutter consists of a circular blade and a tightening mechanism that allows you to score the pipe surface. Here are some key points to consider:
- Types of Pipe Cutters: There are various types of pipe cutters available, including manual, ratcheting, and electric models. Choose one based on your project needs.
- Material Compatibility: Most pipe cutters work well with copper, PVC, and aluminum pipes. Ensure your cutter is suitable for the material you’ll be working with.
- Safety Features: Look for models with safety features such as a protective shield or ergonomic handles to minimize the risk of injury.
Preparing for the Cut
Preparation is crucial for a successful cut. Here’s how to set yourself up for success:
- Measure Twice: Accurately measure the length of pipe you need, marking it clearly with a marker.
- Secure the Pipe: If possible, secure the pipe in a vice or clamp to prevent movement while cutting.
- Wear Safety Gear: Always wear appropriate safety gear, including goggles and gloves, to protect yourself from debris and sharp edges.
Using the Pipe Cutter
Now that you're prepared, let's walk through the cutting process:
- Position the Cutter: Place the cutter over the marked area of the pipe, ensuring the blade aligns with the mark.
- Start Cutting: Close the cutter's jaws gently and begin to rotate it around the pipe. The blade will score the surface.
- Increase Pressure Gradually: As you rotate, gradually tighten the cutter until the pipe is cleanly cut through. Avoid applying too much pressure at once.
Finishing Touches
After cutting, it's essential to finish the pipe properly:
- Deburr the Edges: Use a deburring tool or file to smooth out any sharp edges, which can cause leaks or injury during installation.
- Clean the Pipe: Wipe the pipe with a clean cloth to remove any debris or metal shavings.
- Check Your Work: Ensure the cut is straight and clean; this will make connecting the pipe to fittings easier and more secure.
Common Mistakes to Avoid
Even experienced DIYers can make mistakes when using a pipe cutter. Here are some pitfalls to watch for:
- Not Securing the Pipe: Failing to secure the pipe can lead to inaccurate cuts.
- Applying Too Much Pressure: Over-tightening can damage the cutter or cause uneven cuts.
- Ignoring Safety Practices: Always prioritize safety to avoid accidents during cutting.
In conclusion, mastering the use of a pipe cutter can significantly enhance your plumbing projects, making them more efficient and professional-looking. By understanding the tool, preparing adequately, following the cutting process, finishing your work properly, and avoiding common mistakes, you'll be well on your way to becoming a plumbing pro. Whether you are a DIY enthusiast or someone looking to tackle home repairs, these tips will help you make the most of your pipe cutter.


